How to Use Midjourney for Website Images: 2026 Setup Guide

Stock photography is dead to us. Every image on this site was generated with Midjourney. The results are on-brand, unique, and cost a fraction of what custom photography or premium stock libraries charge. This guide covers how to get started with Midjourney in 2026 and how to properly integrate AI-generated images into your website.
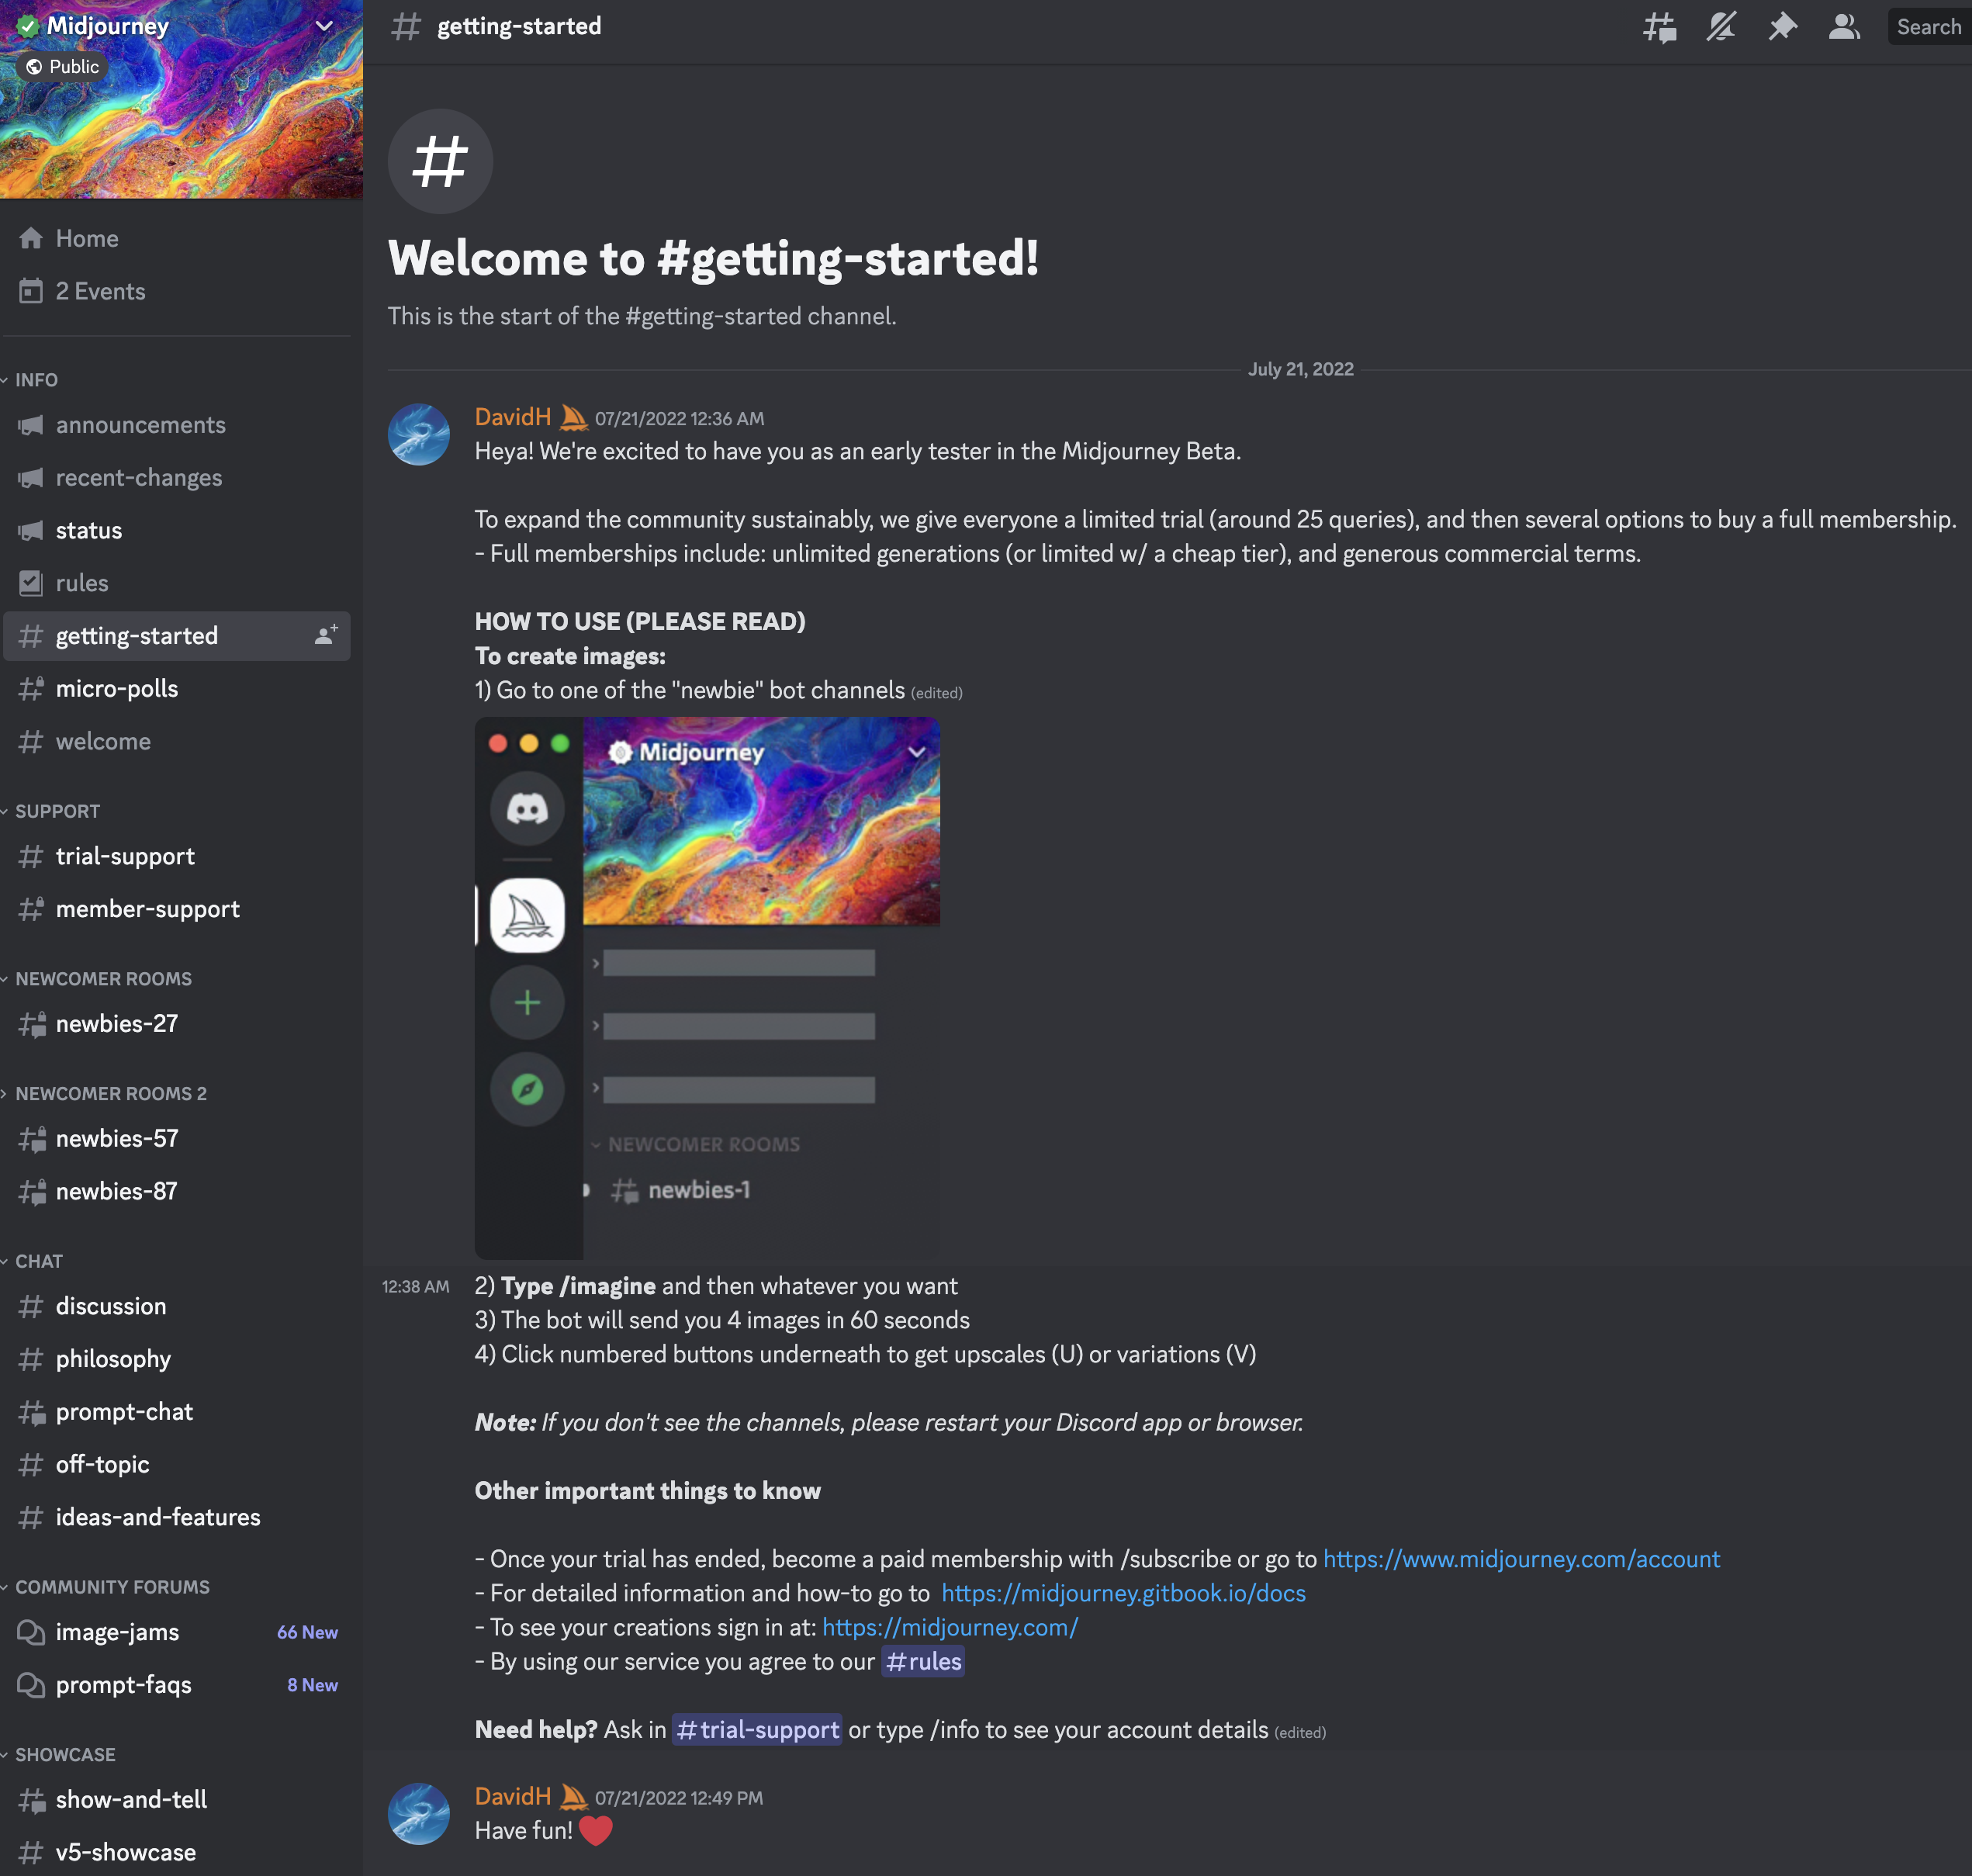
Important update: Midjourney now has a standalone web app at midjourney.com. You no longer need Discord to generate images. The web interface is faster, cleaner, and the recommended way to use Midjourney today.
How to Get Started with Midjourney
Step 1: Create a Midjourney Account
Go to midjourney.com and sign up. You can use Google or Discord to authenticate. If you already had a Discord-based Midjourney account, your existing images and subscription carry over.
Pricing (as of 2026):
- Basic Plan ($10/month): ~200 generations per month. Enough for a personal blog or small website.
- Standard Plan ($30/month): ~900 generations per month. 15 hours of Fast GPU time. Our recommendation for most creators and small businesses.
- Pro Plan ($60/month): ~1,800 generations per month. 30 hours Fast GPU. Stealth mode for private generations.
- Mega Plan ($120/month): ~3,600 generations per month. 60 hours Fast GPU. For teams and agencies.
You must have a paid plan to use Midjourney images commercially. The Basic plan covers commercial use.
Step 2: Generate Your First Image
On the Midjourney web app, click the "Create" tab. Type your prompt in the text box and hit Enter. The model generates four image variations. Click any image to select it, then choose to upscale, vary, or download.
Quick prompt example for a blog hero image:
A modern workspace with a laptop, coffee cup, and plant, soft natural light from a large window, minimalist design, warm tones, editorial photography --ar 16:9 --v 6.1
That is it. Four variations in about 60 seconds.
Step 3: The Discord Option (Still Available)
The Discord bot still works. Some power users prefer it for batch generation and scripting. Here is the quick setup if you want to use it:
- Register for Discord if you do not have an account
- Join the Midjourney Discord server
- Create your own server and invite the Midjourney Bot to it for a private workspace
- Use
/imaginefollowed by your prompt in any channel with the bot
We recommend the web app for most users. It is faster to learn, easier to organize, and has better image management.
Generating Website-Ready Images
Not all AI images work well on websites. Here are the specific techniques we use.
Blog Hero Images
These are the wide banner images at the top of posts. We use them across this entire site.
Formula: [subject relevant to article topic], [mood/atmosphere], [lighting], editorial photography --ar 16:9 --v 6.1 --s 150
Example prompts we have used:
Abstract visualization of artificial intelligence neural networks, deep blue and electric purple tones, glowing nodes and connections, dark background, futuristic, editorial --ar 16:9 --v 6.1
A close-up of hands typing on a mechanical keyboard, moody side lighting, shallow depth of field, tech editorial photography --ar 16:9 --v 6.1 --s 100
For detailed prompt formulas and advanced techniques, check out our Midjourney V6 prompt guide.
Social Media Graphics
Different platforms need different aspect ratios. Set these with the --ar parameter:
- Instagram Feed:
--ar 1:1or--ar 4:5 - Instagram/TikTok Story:
--ar 9:16 - Twitter/X Header:
--ar 3:1 - LinkedIn Post:
--ar 1.91:1 - YouTube Thumbnail:
--ar 16:9
Consistent Brand Style
This is where Midjourney's --sref (style reference) parameter is a game changer. Generate one image that nails your brand aesthetic. Save it. Then use its URL as a style reference for every future image.
A mountain landscape at sunset, warm cinematic tones --ar 16:9 --sref [URL of your reference image] --sv 4
The --sv parameter controls how strongly the style reference is applied (1-4, with 4 being strongest).
We used this technique to maintain visual consistency across every blog post on this site. Same color treatment, same mood, same feel. Visitors notice consistency even if they cannot articulate it.
Product and Service Visuals
If you sell a service, Midjourney can create conceptual images that represent what you do without using generic stock.
Example for a consulting firm:
Two professionals having an engaged conversation in a modern glass office, warm afternoon light, authentic and candid moment, business editorial photography --ar 16:9 --v 6.1
Example for a travel brand:
Aerial view of a turquoise lagoon with overwater bungalows, tropical island, golden hour, luxury travel photography --ar 16:9 --v 6.1
Optimizing AI Images for the Web
Generating the image is half the job. Optimizing it for web performance is the other half. Skip this and your site speed tanks.
File Format Selection
- WebP: Best all-around choice. 25-35% smaller than JPEG at equivalent quality. Supported by all modern browsers.
- AVIF: Even smaller than WebP. Growing browser support. Use as a progressive enhancement with WebP fallback.
- JPEG: Universal fallback. Use quality 80-85 for the best size/quality balance.
- PNG: Only use when you need transparency. File sizes are massive for photographs.
Compression Pipeline
Midjourney outputs large files. Here is our compression workflow:
- Download the upscaled image from Midjourney (usually 2048x2048 or larger)
- Resize to your max display size. If your blog content area is 800px wide, there is no reason to serve a 2048px image. Resize to 1600px width (2x for retina) max.
- Compress with Squoosh or TinyPNG. Target 80-85% quality for JPEG/WebP. Most images drop from 2-4MB to 100-300KB.
- Use responsive images. Serve different sizes for different screen widths using
srcset.
<img
  src="/images/blog/hero-800.webp"
  srcset="/images/blog/hero-400.webp 400w,
          /images/blog/hero-800.webp 800w,
          /images/blog/hero-1200.webp 1200w"
  sizes="(max-width: 600px) 400px, (max-width: 1000px) 800px, 1200px"
  alt="Descriptive alt text for SEO and accessibility"
  loading="lazy"
  width="1200"
  height="675"
/>
SEO for AI-Generated Images
Google does not penalize AI-generated images. But you still need to follow image SEO basics:
- Descriptive file names.
midjourney-workspace-hero.webpnotimage-4837291.png - Alt text on every image. Describe what is in the image. Include your target keyword naturally.
- Width and height attributes. Prevents layout shift (CLS). Always include them.
- Lazy loading. Add
loading="lazy"to every image below the fold. Do not lazy-load your hero image. - Structured data. If images are central to your content, use ImageObject schema.
For more on SEO best practices, see our guide on AI-powered SEO tactics.
Legal Considerations
Midjourney's Terms of Service grant you ownership of images you generate with a paid plan. You can use them commercially. A few things to keep in mind:
- No copyright on pure AI output. US Copyright Office has ruled that purely AI-generated images cannot be copyrighted. You can use them, but so can anyone else.
- Avoid generating real people. Midjourney blocks many celebrity names, but not all. Using AI-generated likenesses of real people is a legal gray area.
- Disclose when required. Some industries and platforms require disclosure of AI-generated content. Check your specific requirements.
Example Prompts We Used for This Site
Here are real prompts from images on this blog:
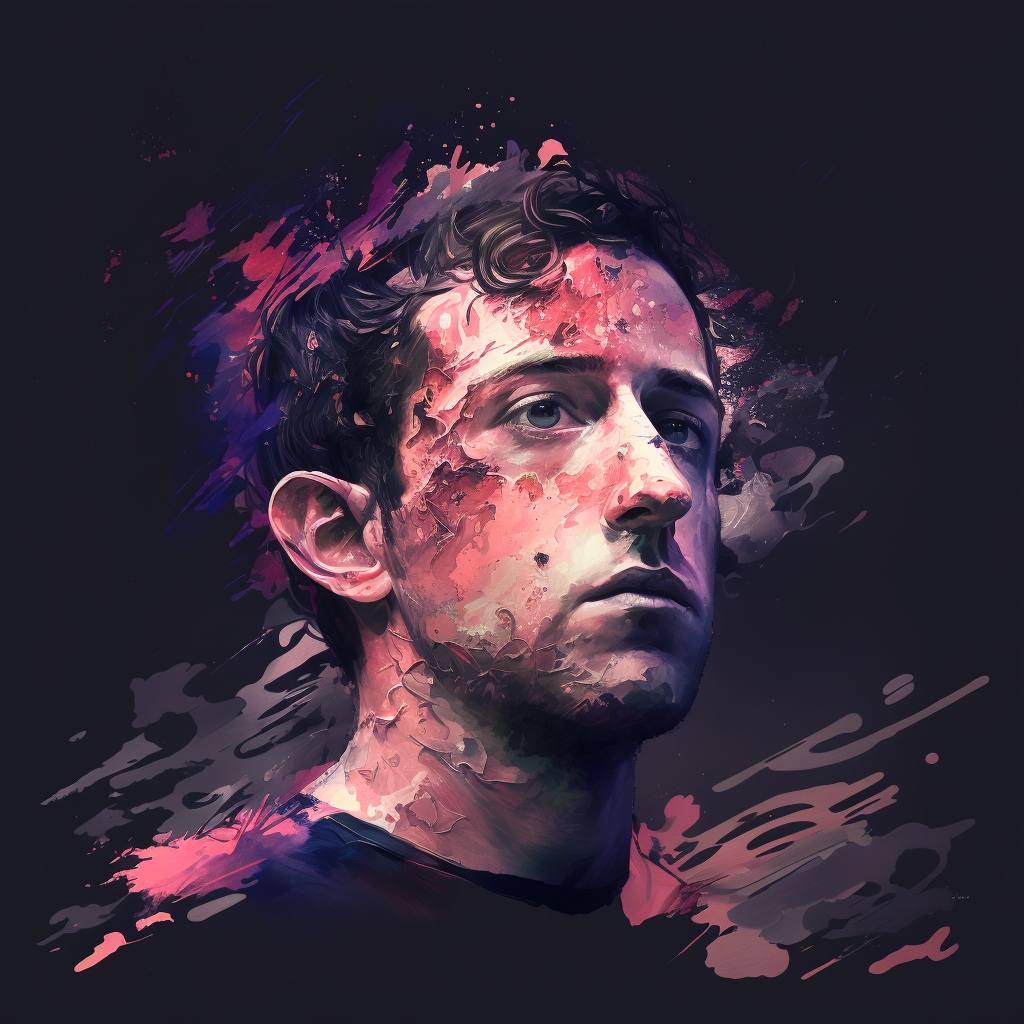
Mark Zuckerberg, moody, high contrast color, sci-fi --v 4
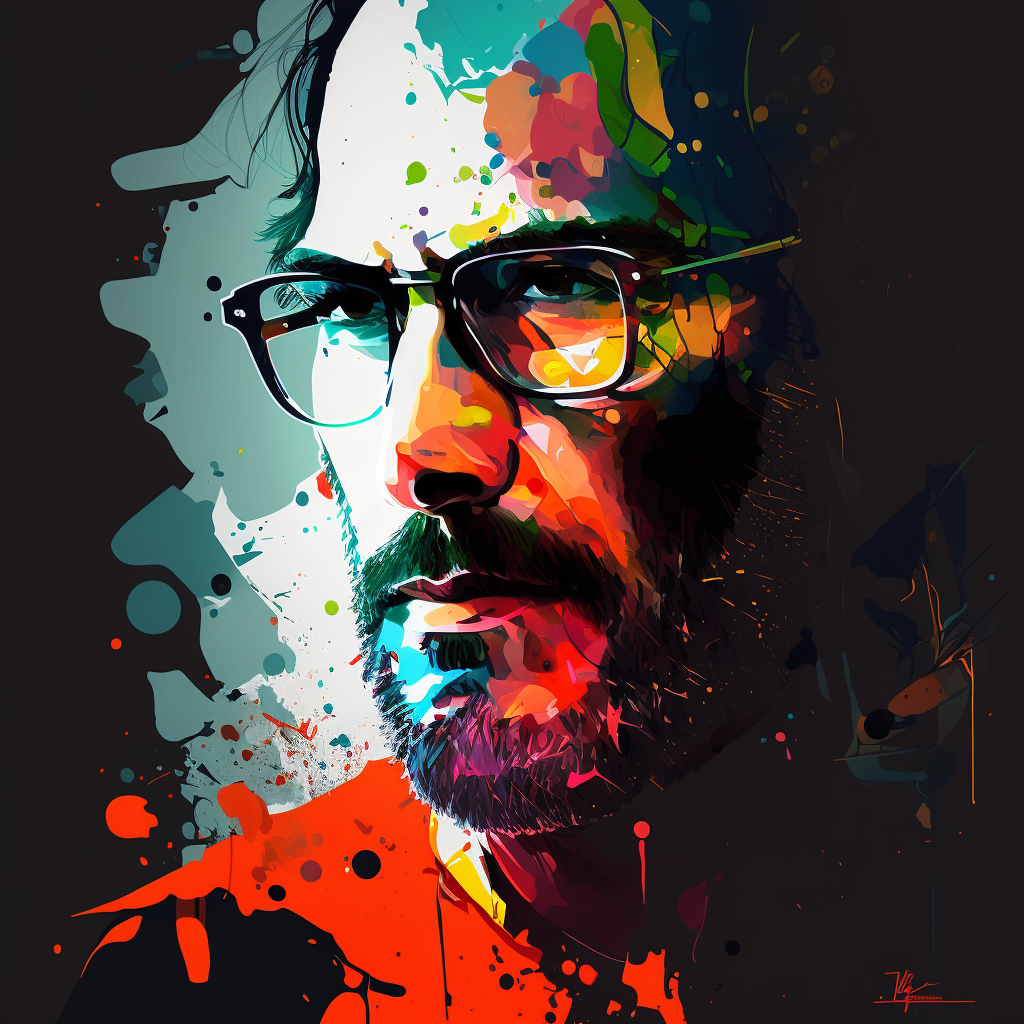
Steve Jobs, moody, high contrast colors, sci-fi --v 4
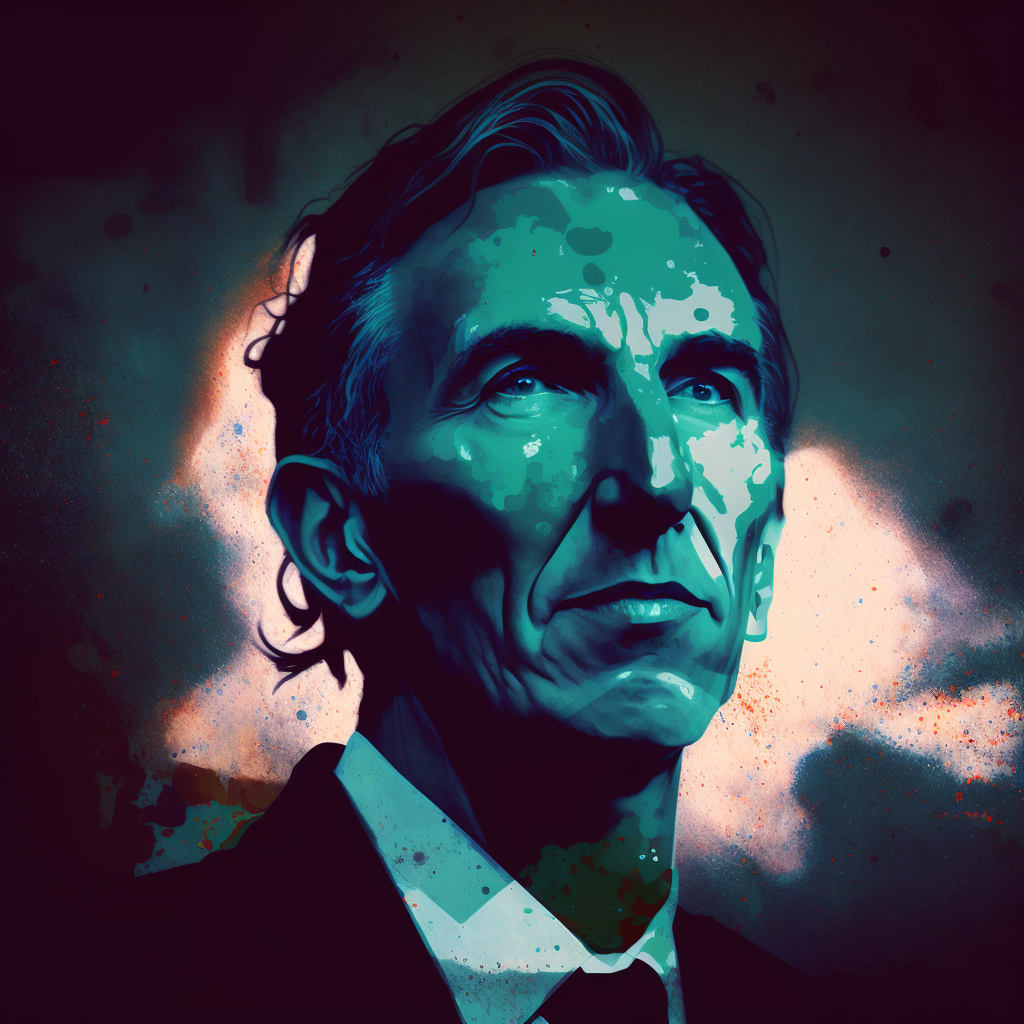
Howard Schultz, moody, high contrast color, sci-fi --v 4
These were generated with v4. Consistent prompt structure = consistent visual style. That principle applies even more strongly in v6 with style references.
In Conclusion
Midjourney replaces stock photography for websites. The web app makes it accessible to anyone. The images are unique to your brand. The cost is $10-30/month instead of hundreds in stock photo subscriptions. Generate with purpose, optimize for performance, and maintain visual consistency with style references. Your website visitors will notice the difference even if they never realize the images are AI-generated.
Related articles: Midjourney V6 Prompt Guide · Best Text-to-Image AI Tools · Stable Diffusion Prompt Guide
Author

Want more like this?
I write about AI implementation, automation, and growth marketing. No hype.


